


How To Lace Your Shoes
Written by Tigre HallerHow many ways can you think of to lace your shoes? One, five, ten, fifty? According to some shoe lacing experts, there are many more than that. You can actually change the entire aesthetic of your shoes just by changing the laces, or the lacing method. Pretty powerful for the humble shoestring, isn’t it?
There are several types of shoelaces which work with specific shoe styles, and for specific occasions. They vary not just in color, but in length, width, shape and materials.
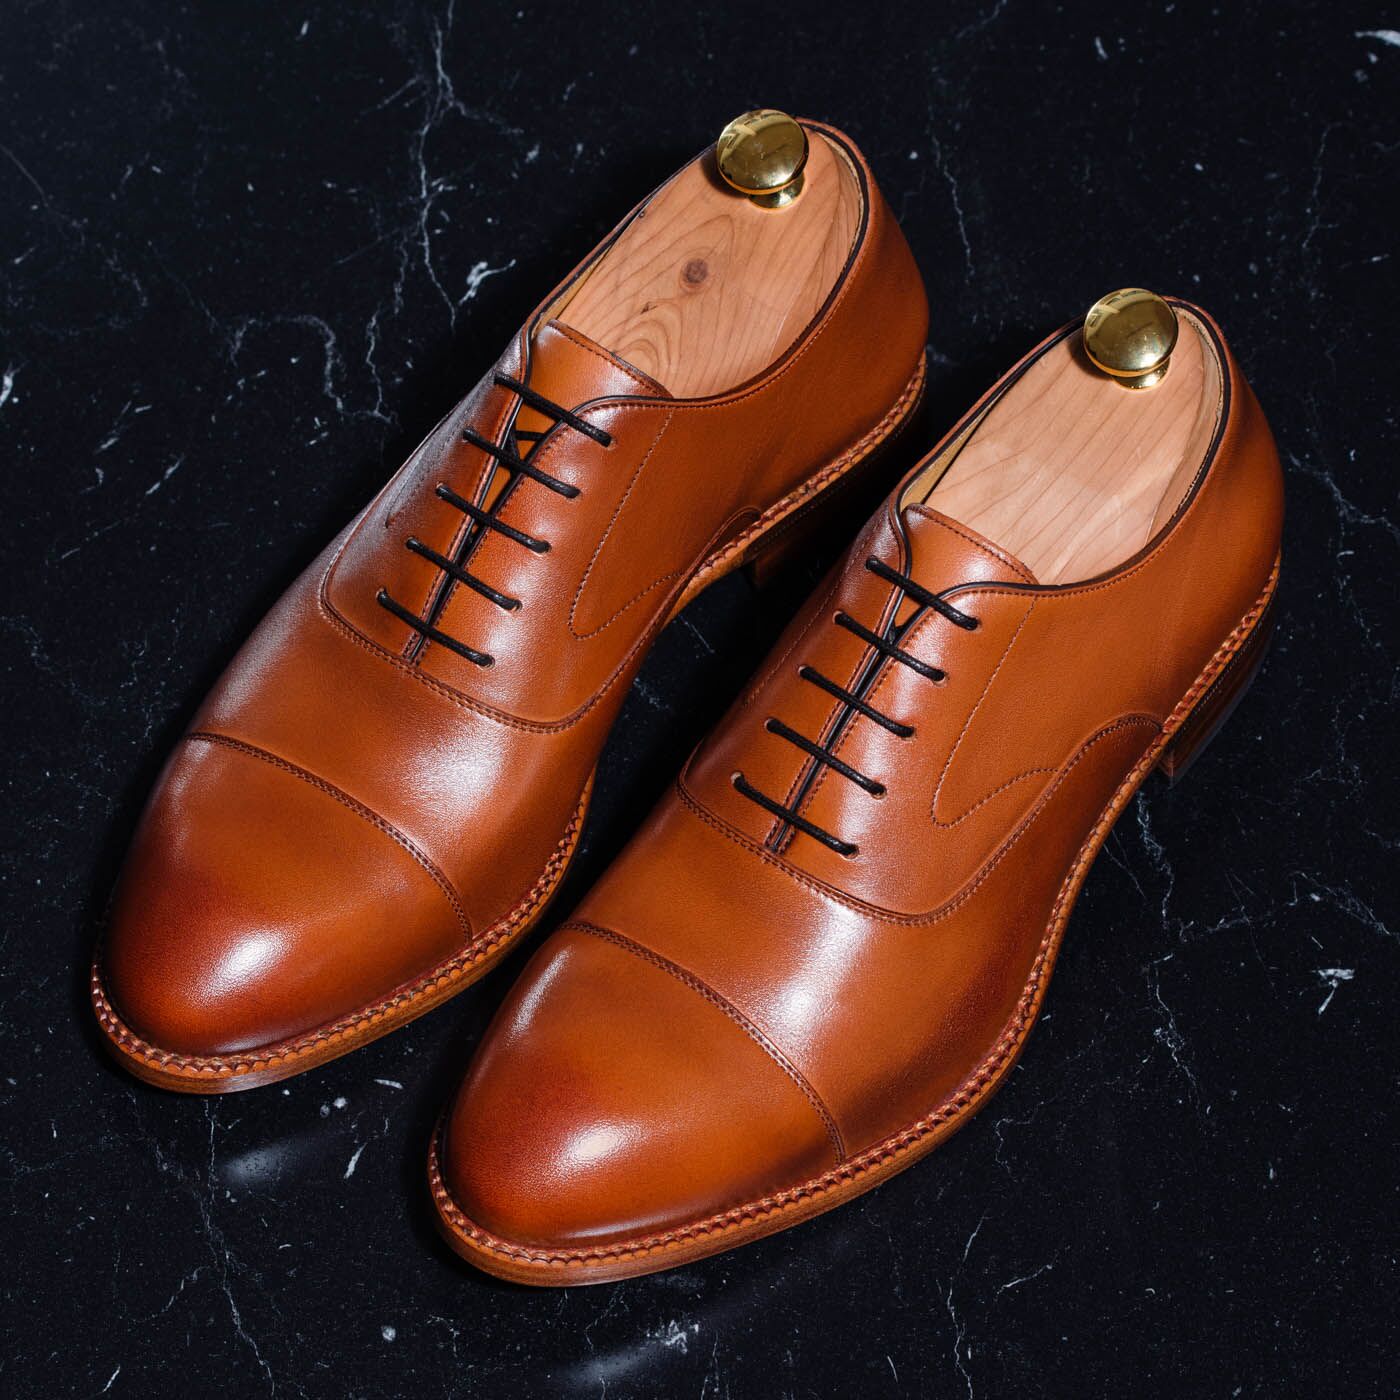
Round, waxed cotton laces work best for dress shoes. Why? Because round laces present a reserved appearance, and serve to maintain the formal aesthetic of certain styles such as Oxfords. They also tend to stay tied, as opposed to other materials like polyester, which is slippery. The slightly shiny appearance of waxed cotton laces adds a touch of flair, and the wax helps prevent fraying, and prolongs the life of the laces. The length of 91 cm / 36 inches fit perfectly with the 5 eyelets found on most dress shoes.
Flat, waxed cotton laces can be used for less formal occasions, and with styles such as leather sneakers, Derbies or shoes with broguing, wingtips or other ornamentation.
You can choose different color laces, but generally, you should choose tones that match or complement the tone of your shoes. You can switch things up with different colors, but be aware of the setting you will be wearing them in. For example, lacing a black Oxford with bright yellow laces probably isn’t the best idea for conservative offices.
Lacing shoes the right way is a fantastic way to showcase your personality, and personal sense of style. Keep reading to discover how to master 8 shoe lacing techniques.
First, position your shoe with the toe facing you. Generally, we will be using the 5 eyelet structure as is standard with men’s dress shoes. Exceptions are noted. The eyelets on the lacestay (the part of the shoe where the eyelets sit, and the laces are inserted) are counted from the bottom up, 1 through 5. All lacing will start from the right side. Make sure the ends are even when you start out, and check them from time-to-time.
Method #1 (Criss-Cross)

Criss-cross lacing is a fun and easy way to “break the mold” of more conservative lacing styles. More suited to casual shoes like Derbies, or those with ornamentation, such as broguing, pinking and wingtips.
- Thread the lace from the exterior of the lacestay through row 1 of eyelets.
- Cross the left side of the lace to the right side of the shoe and thread it from the exterior of the lacestay into the eyelet.
- Cross the right side of the lace to the left side of the shoe and thread it from the exterior of the lacestay into the eyelet.
- Check to make sure you have a clearly defined “x” shape.
- Repeat steps 2 and 3 with the remaining rows of eyelets.
- Tie the ends together.
Method #2 (Straight-Bar-Lace)

Historically, the straight-bar lacing has been the standard for Oxfords. It presents a clean, uniform and formal look well-suited to the closed lacing system of the shoe.
- Thread the lace from the exterior of the lacestay through row 1 of eyelets.
- Take the right lace, thread it through the left eyelet from the interior of the lacestay on row 2.
- Move the same lace straight across to the right eyelet on row 2, thread it through from the exterior of the lacestay.
- Take the right lace, thread it through the left eyelet on row 3 from the interior of the lacestay.
- Move the same lace straight across to the right eyelet on row 2, thread it through from the exterior of the lacestay.
- Take the right lace, thread it through the left eyelet from the interior of the lacestay on row 4.
- Move the same lace straight across to the right eyelet on row 4, thread it through from the exterior of the lacestay.
- Thread both laces on their same sides through the interior of the lacestay on row 5.
- Tie the ends together.
Method #3 (Bow Tie)

The bow tie lacing is a whimsical way to spice up your shoes, without being over the top. This pattern will catch some attention, and complement all of your looks.
- Insert both ends of the lace on their respective sides from the exterior of the lacestay on row 1.
- Run the left side lace up the interior of the lacestay, to row 2, and thread it through the eyelet.
- Run the right side lace up the interior of the lacestay, to row 2, and thread it through the eyelet.
- Criss-cross the laces.
- Insert both ends on their respective sides from the exterior of the lacestay on row 3.
- Run the right side lace up the interior of the lacestay, to row 4, and thread it through the eyelet.
- Run the left side lace up the interior of the lacestay, to row 4, and thread it through the eyelet.
- Criss-cross the laces.
- Insert both ends on their respective sides from the outside of the lacestay on row 5.
- Tie the ends together.
Method #4 (Double Back)

This funky lacing style works best using flat laces on shoes with at least 6 eyelets, like sneakers and some boots.
Using a 6 eyelet sneaker as our example, (with row 1 being at the bottom), let’s find out how to create this fun pattern:
- Thread the lace from the exterior of the lacestay through row 5 of eyelets to form a bar.
- Criss-cross the laces.
- Skip down to row 3, making sure to thread both ends underneath the bar on row 5.
- Insert both ends into the eyelets on their respective sides from the exterior of the lacestay.
- Criss-cross the laces.
- Skip down to row 6 and insert both ends on their respective sides from the exterior of the lacestay.
- Run the right side lace up the interior of the lacestay, to row 5, and thread it through the eyelet.
- Run the left side lace up the interior of the lacestay, to row 5, and thread it through the eyelet.
- Run the left lace horizontally up to row 4, and thread it through the eyelet from the interior of the lacestay.
- Run the right lace horizontally up to row 4, and thread it through the eyelet from the interior of the lacestay.
- By now you should see an overlapping pattern.
- Feed the right side lace horizontally under the bar on row 5.
- Thread the right side lace through the eyelet from the interior of the lacestay on row 6.
- Feed the left side lace horizontally under the bar on row 5.
- Thread the left side lace through the eyelet from the interior of the lacestay on row 6.
- Tie the ends together.
Method #5 (Diagonal)

The diagonal lacing method created a cool visual pop and will set you apart from everyone else.
- Insert the lace from the exterior of the lacestay through the eyelet on row 1.
- Extend the lace across to the left side of the shoe, over the exterior of the lacestay and through the left eyelet on row 1.
- Bring the right end of the lace to the left side of the shoe and thread it over the lacestay into the left eyelet on row 2. Note: Both ends should now be together on the left side, under the lacestay.
- Bring the end of the lace that’s coming out of row 1 on the left over to the right side of the shoe. Thread it from the interior of the lacestay through the right eyelet on row 2.
- Bring this same end to the left side and over the exterior of the lacestay, and through the left eyelet on row 3.
- Take the other end, from the left side, and thread it from the interior of the lacestay through the right eyelet on row 3.
- Bring this same end to the left side and over the exterior of the lacestay, and through the left eyelet on row 4.
- Extend the end of the lace coming out of the left eyelet on row 3 through the interior of the lacestay through the right eyelet on row 4.
- Bring this same end to the left side and over the exterior of the lacestay, and through the left eyelet on row 5.
- Take the other end, from the left side, and thread it from the interior of the lacestay through the right eyelet on row 5.
- Tie the ends together.
Method #6 (Hash)

Hash lacing is for when you want to switch things up, and have some fun.
- Starting from the right, insert the lace through the eyelet on row 1, and pull it evenly from the inside of the lacestay. Pass it through the left eyelet on row 1.
- Cross the left lace diagonally to the right side of the lacestay. Skip one eyelet up to row 3, and run the lace over the lacestay and through the eyelet.
- Run the lace down the interior of the lacestay, to the skipped eyelet in row 2, and thread it through.
- Now, both laces should be on the right side.
- Cross the lace that is dangling from row 1 diagonally across to row 3. Run the lace over the lacestay and through the eyelet.
- Run the lace down the interior of the lacestay, to the skipped eyelet in row 2, and thread it through.
- At this point, both ends should be coming out of opposite sides of row 2. Check to make sure they’re still even; adjust if needed.
- Cross the right lace diagonally, skipping row 4, and thread it over the top of the lacestay and through eyelet 5 (the last one).
- Run the lace down the interior of the lacestay to the skipped eyelet on row 4 and thread it through.
- Cross the left lace diagonally, skipping row 4, and thread it over the top of the lacestay and through eyelet 5 (the last one).
- Run the lace down the interior of the lacestay to the skipped eyelet on row 4 and thread it through.
- Both ends should now be coming out of opposite sides of row 4.
- Check for evenness; adjust if needed.
- Alternatively, you can skip steps 10 and 12, and leave the fourth eyelet “blank.”
- Tie the ends together.
Method #7 (Ladder)

The ladder shoe lacing technique adds an intriguing visual element to your shoes. Given the bold nature of this look, you should only use it when you really want to make a statement. It works best with Derbies and sneakers - as shown in the image.
- Starting from the right, insert the lace through the eyelet on row 1, through the exterior of the lacestay.
- Pull it evenly from the interior of the lacestay. Pass it through the left eyelet on row 1.
- Bring the right lace along the exterior of the lacestay and insert it into the eyelet on row 2.
- Repeat with the left side.
- Cross the laces over the shoe.
- Insert the right lace into the loop that has been formed between rows l and 2 to lock it.
- Repeat with the left side.
- Bring the right lace along the exterior of the lacestay and insert it into the eyelet on row 3.
- Repeat with the left side.
- Cross the laces over the shoe.
- Insert the right lace into the loop that has been formed between rows 2 and 3 to lock it.
- Repeat with the left side.
- Bring the right lace along the exterior of the lacestay and insert it into the eyelet on row 4.
- Repeat with the left side.
- Cross the laces over the shoe.
- Insert the right lace into the loop that has been formed between rows 3 and 4 to lock it.
- Repeat with the left side.
- Cross the laces over the shoe.
- Insert the right lace into the loop that has been formed between rows 4 and 5 to lock it.
- Repeat with the left side.
- Tie the ends together.
Method #8 (Knotted)

Knotted lacing literally punches your style up a few notches. The cool, center- knotted detail stands out, and this rakish look works really well with brogueing and pinking.
- Starting from the right, insert the lace through the eyelet on row 1, through the exterior of the lacestay.
- Pull it evenly from the interior of the lacestay. Pass it through the left eyelet on row 1.
- Cross the laces and loop the left side under the right. This is your first knot.
- Insert the right lace into the right eyelet on row 2 through the interior of the lacestay.
- Insert the left lace into the left eyelet on row 2 through the interior of the lacestay.
- Cross the laces and loop the left side under the right. This is your second knot.
- Repeat the above steps until you lace row 5.
- Tie the ends together.
Now you know how to lace your shoes in fun and creative ways. This is one of the easiest ways to switch-up your style, while maintaining the integrity of your wardrobe.
Click here to see more images of the handsome styles featured in this article.
And please leave a comment below to let us know which lacing methods you like the most, and if you have any others we should try.
Leave a comment
Please note, comments must be approved before they are published.